
Here's everything you need to know about this picture
Full disclosure: Okay, let's be real: I love the stuff I share, and sometimes I get a little kickback if you buy it. But don't worry, it won't cost you extra and it helps fund my coloring obsession! Win-win!
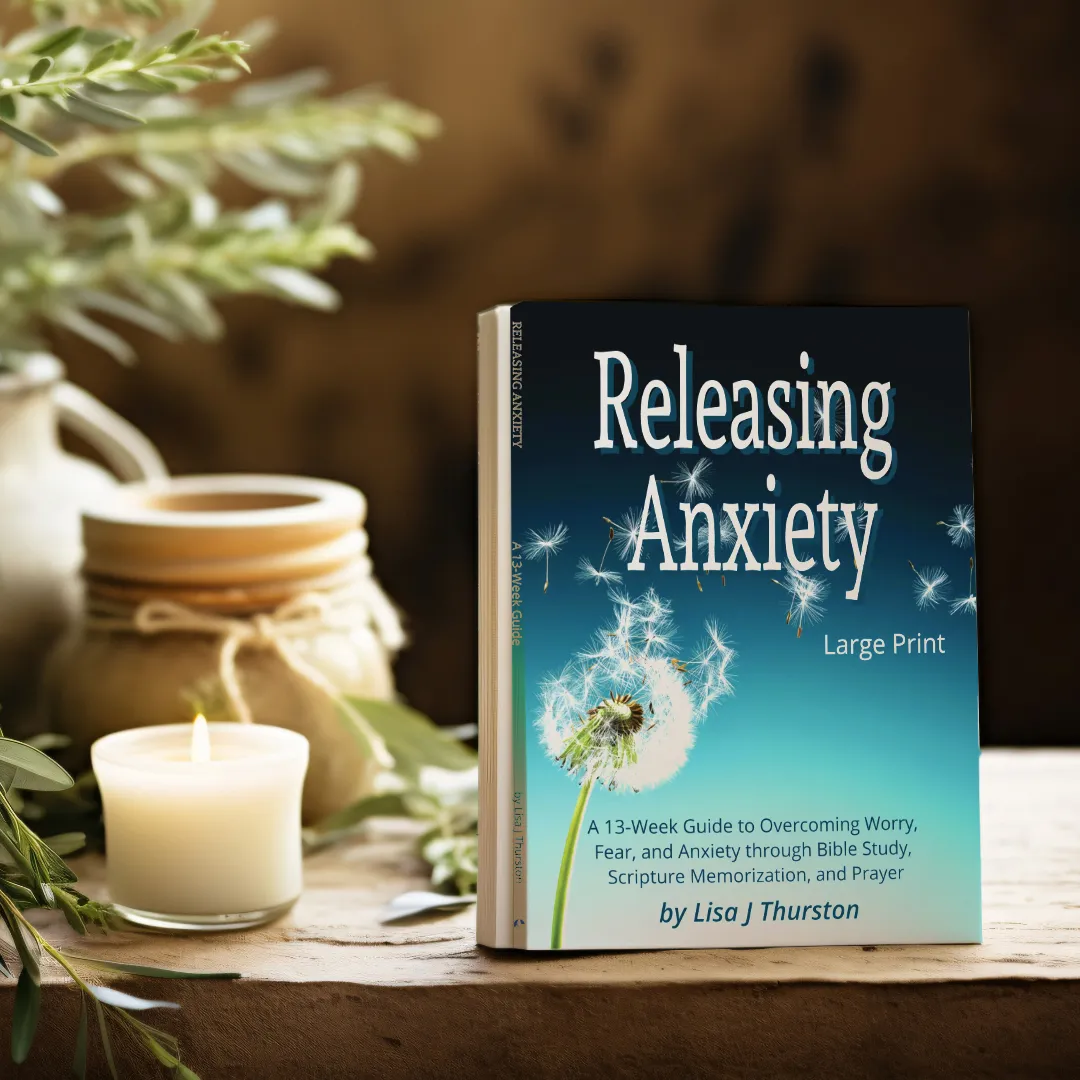
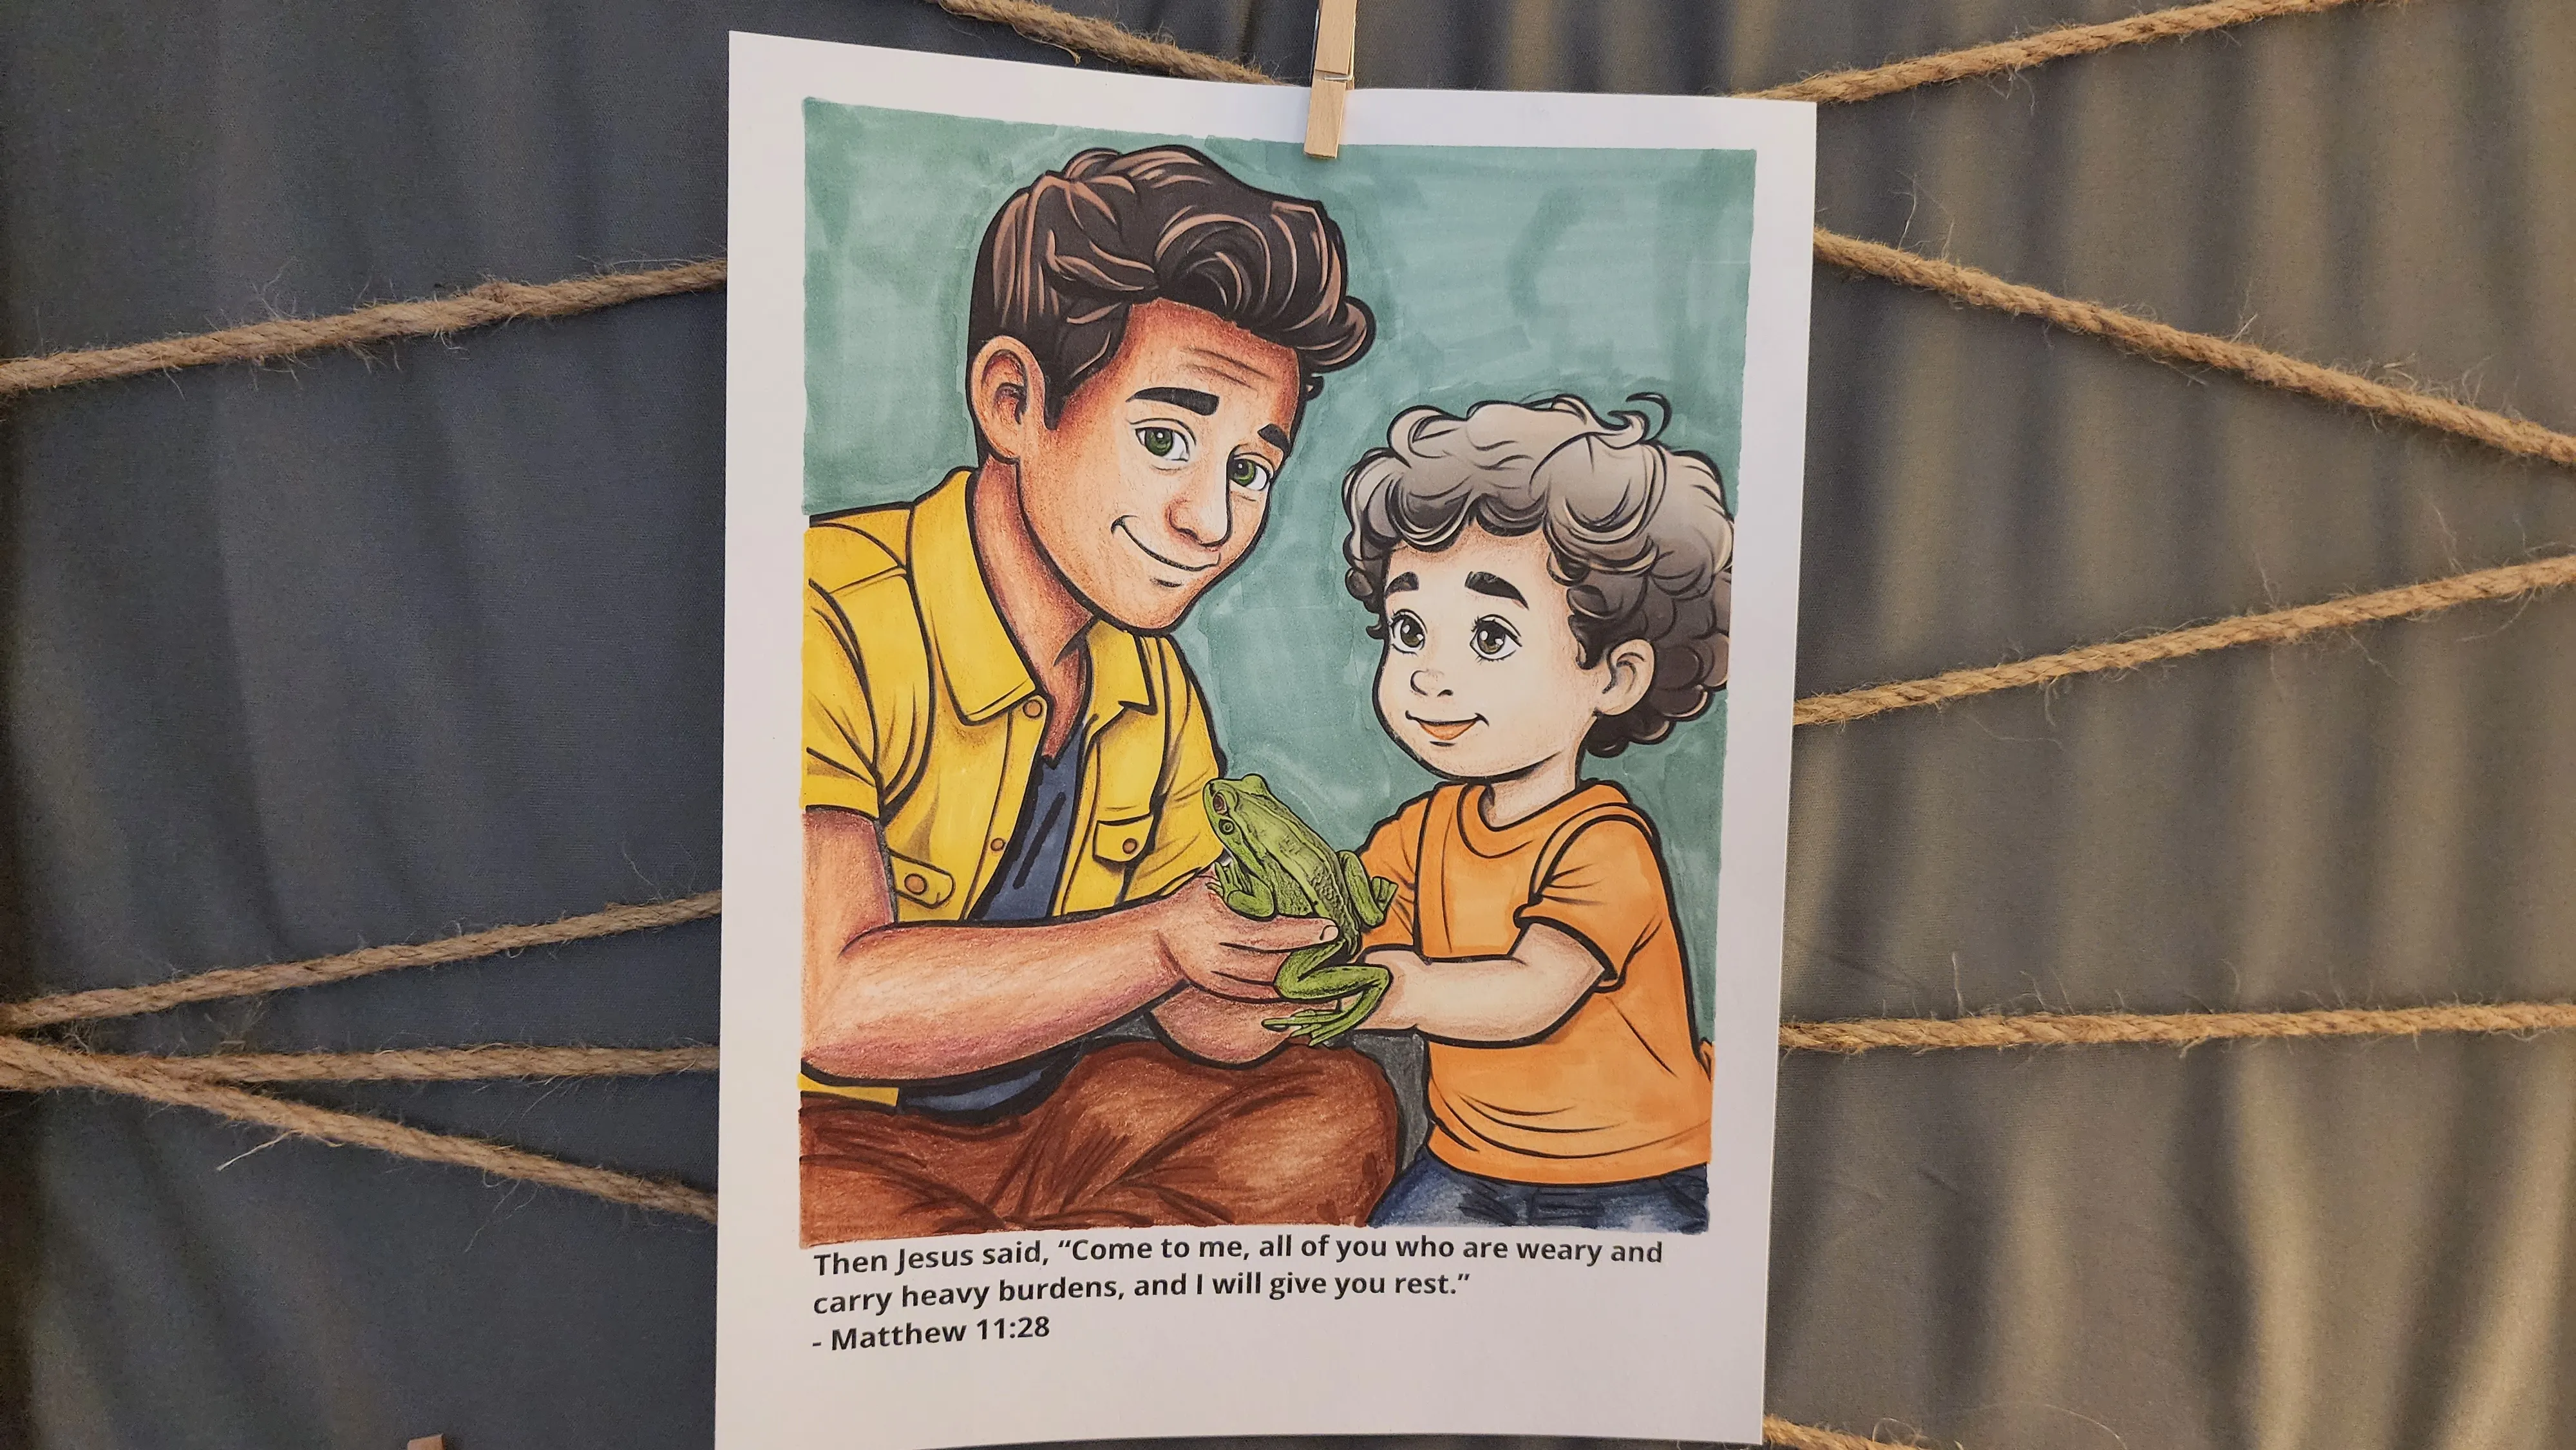
This coloring page is from the devotional
Releasing Anxiety
I made some mistakes...
This is my first time working with markers. I'm in the process of figuring out how to get the results I want in less time, and markers seemed like a good way to do that.
Here's what I learned!
With the paper I'm using, I'm not able to use colored pencils on top of markers without the paper peeling. The alcohol markers flatten the tooth of the paper. When I use the pencils on top they just grind into the paper. On the father I tried to layer pencils on the skin and it was a nightmare. You can see how streaky it is, and the paper was peeling away as I colored. On the son I just used minimal shadows with the pencils. It didn't create the depth I was originally hoping for, but it did save time and I don't think it looks bad.
I believe if I use multi media paper I can probably get better results. To learn more about choosing the right paper, click here.
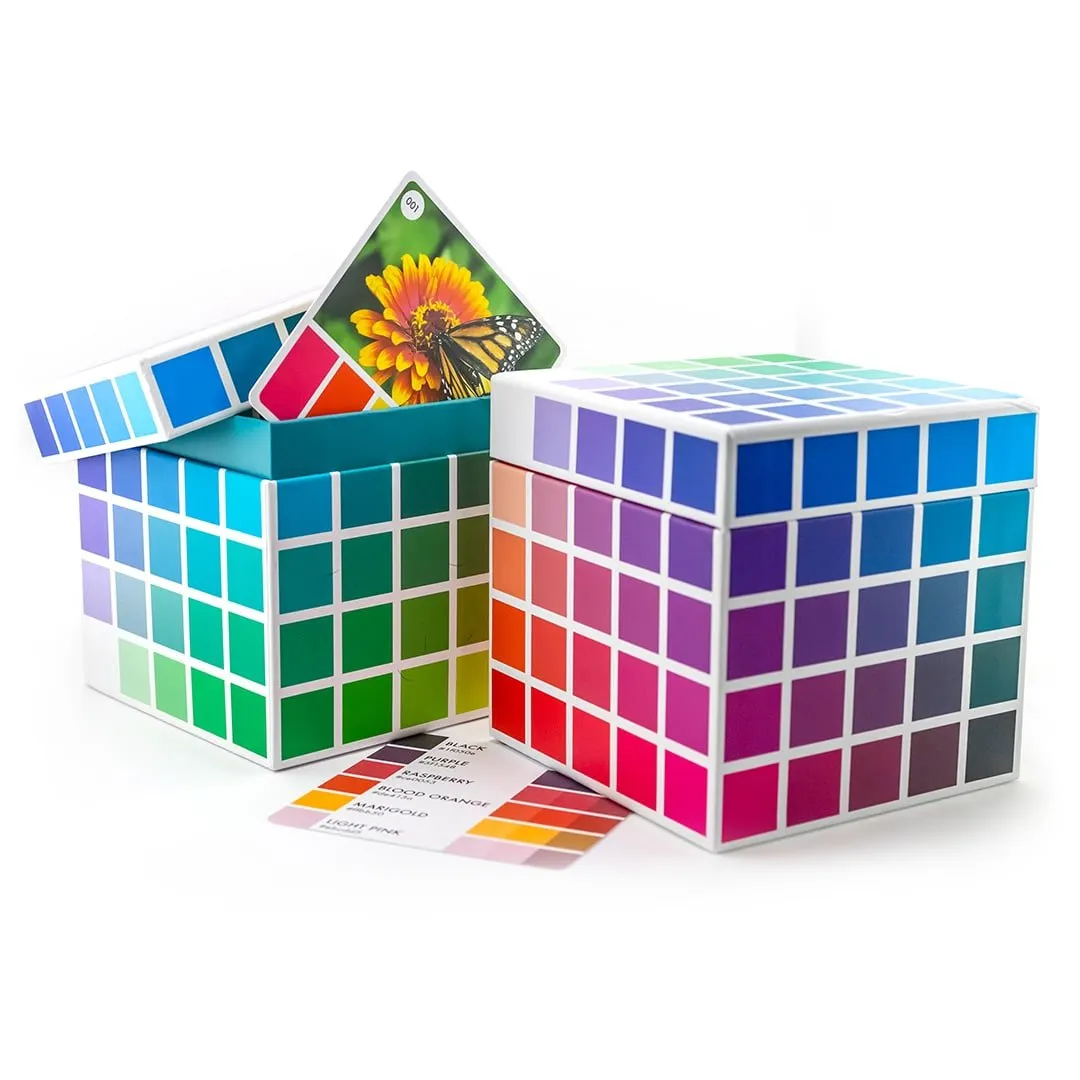
For color inspiration I used a
Color Palette
Sarah Renae Clark has hundreds of color palettes!
These help your images have a more cohesive look. For this image I used palette #305 from Color Cube 2.
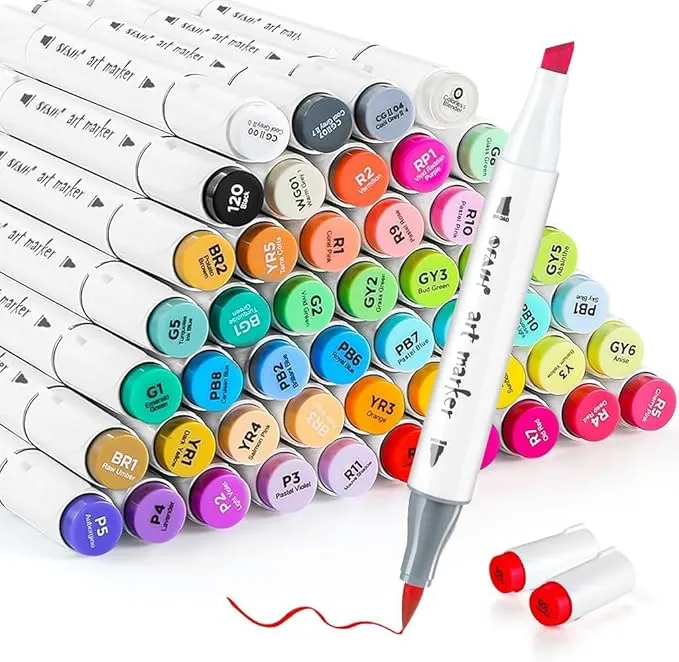
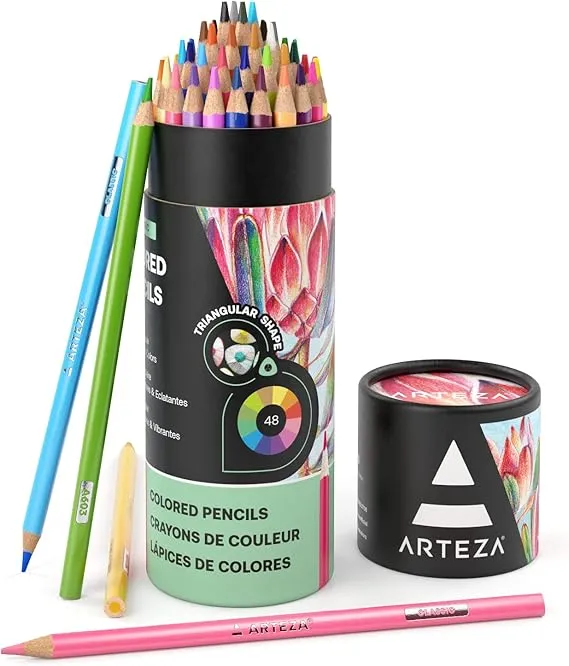
The majority of the page was colored with
Arteza Pencils
I used the set of 48 (as shown) but...
If I were to order this again I would order the set of 72 in order to have more skin tone colors. Check it out here.
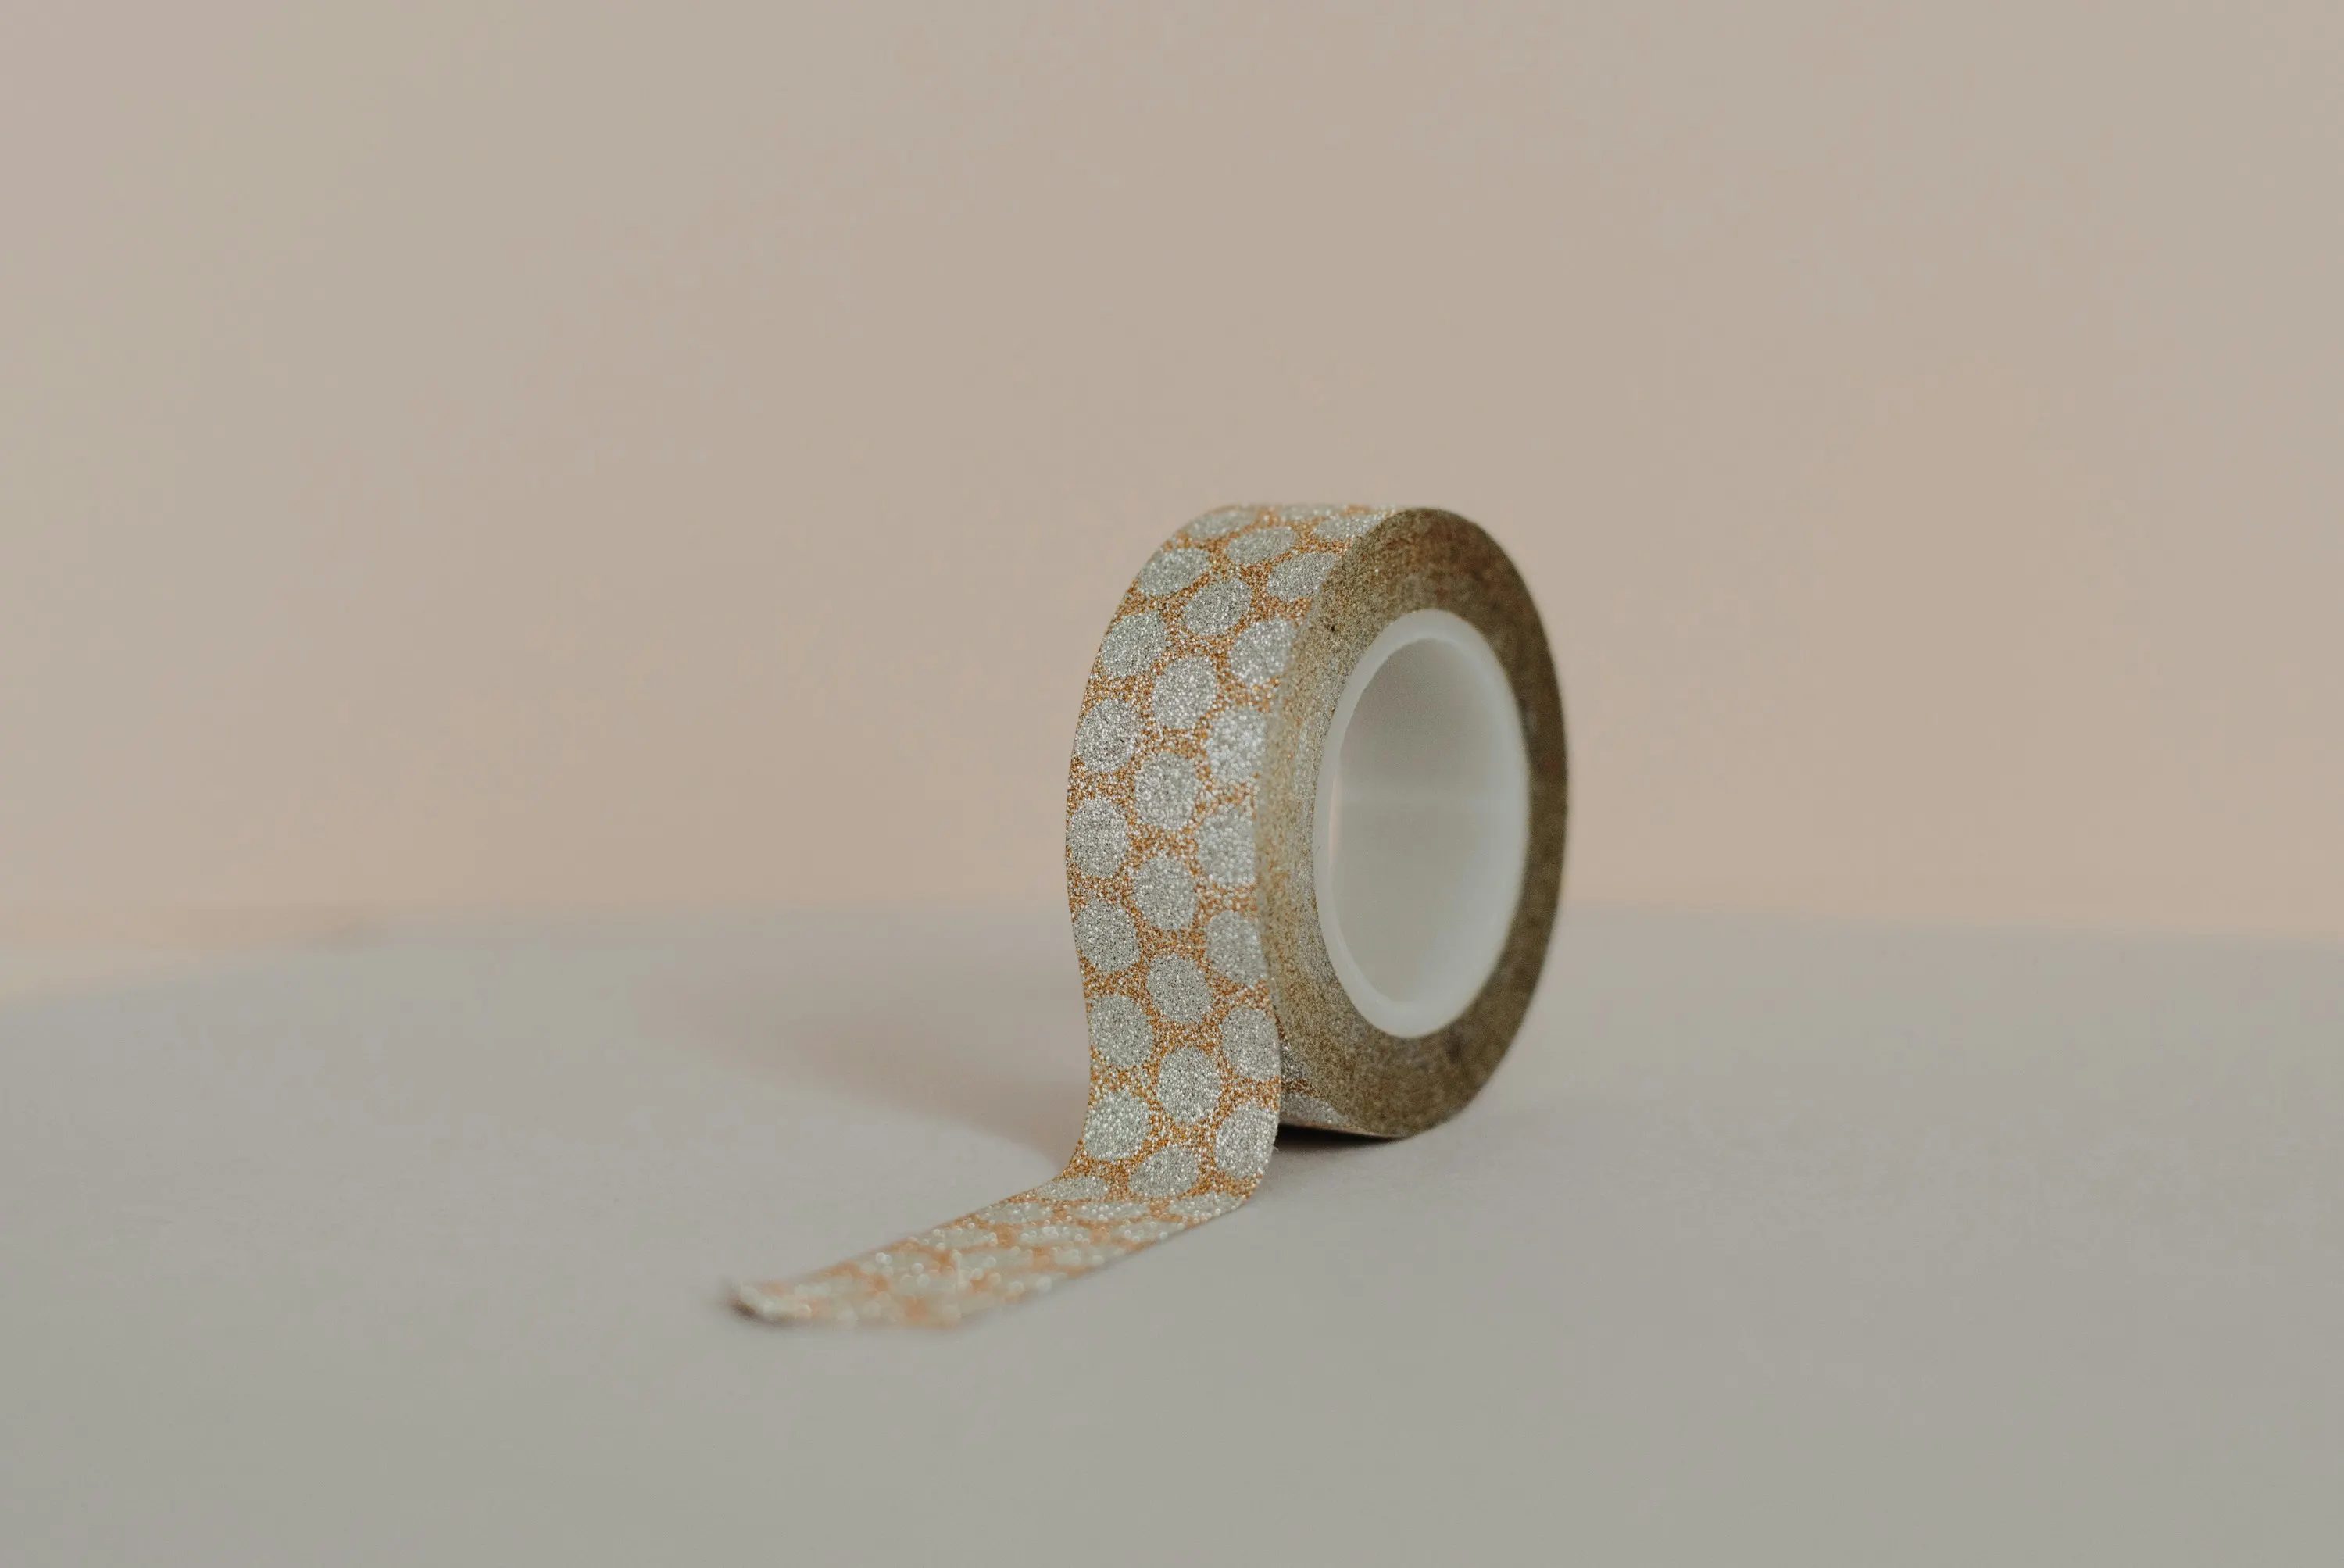
I taped the borders of my image with
Washi Tape
There are several benefits.
It will protect the borders of your image, giving you cleaner lines, and keeping you from coloring over the bible verse like I've done in the past. Also, it can protect your table. When color outside the lines your color on your tape instead of your table.
Painters tape is another good option.
© 2026 LisaThurston.com